Introduction
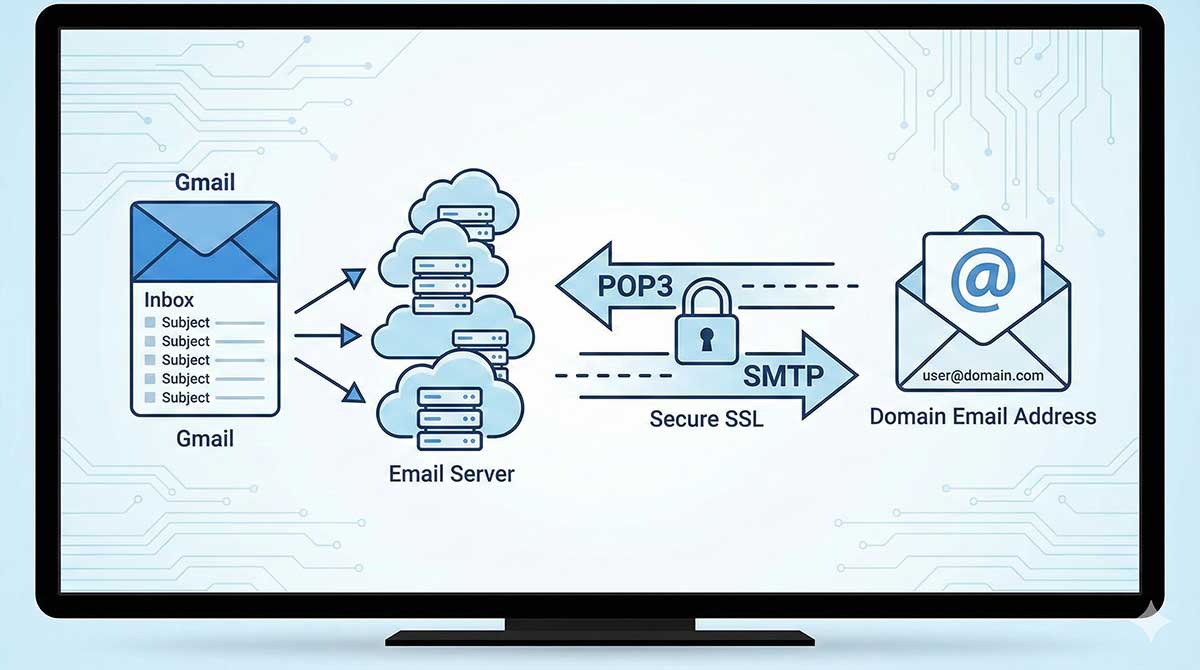
Gmail allows you to receive and send emails from your domain-based email address directly inside your Gmail inbox using POP3 and SMTP settings. This is useful if you want to manage all emails from one place without logging into webmail repeatedly.
In this guide, we will show you how to configure POP3 (incoming mail) and SMTP (outgoing mail) in Gmail step by step.
Before You Begin – Important Limitations
Before setting up POP3 in Gmail, please note the following limitations:
Gmail supports POP3 only, not IMAP, for fetching external emails
Emails are downloaded, not synced with the server
Gmail fetches emails only from the Inbox
Sent, Drafts, or custom folders are not downloaded
By default, Gmail removes emails from the server
It is strongly recommended to enable “Leave a copy on the server”
This ensures continued access to emails via webmail.
Step 1: Log in to Gmail and Open Settings
- Log in to your Gmail account
- Click the gear (⚙️) icon in the top-right corner
- Select See all settings
Step 2: Go to Accounts & Import
- Click the Accounts and Import tab
- Under Check mail from other accounts, click Add a mail account
Step 3: Enter Your Email Address
- Enter your domain email address (e.g., info@yourdomain.com)
- Click Next
Step 4: Choose POP3 Import Option
- Select “Import emails from my other account (POP3)”
- Click Next
Step 5: Enter POP3 (Incoming Mail) Settings
Use the following POP3 configuration (replace values with your hosting details):
POP3 Settings
- Username: Your full email address
- Password: Email password (same as webmail)
- POP Server: mail.yourdomain.com or provided server
- Port: 995
- Security: SSL
✔️ Enable Leave a copy of retrieved messages on the server
✔️ Enable Always use a secure connection (SSL)
Click Add Account
Step 6: Enable Sending Mail from Gmail
Once incoming mail is configured:
- Select “Yes, I want to be able to send mail as…”
- Click Next
This allows you to send emails using your domain email address from Gmail.
Step 7: Enter Sender Name
- Enter the sender name that recipients will see
- (Optional) Enable Treat as an alias if Gmail is your primary inbox
- Click Next Step
Step 8: Enter SMTP (Outgoing Mail) Settings
Use the following SMTP configuration:
SMTP Settings
- SMTP Server: mail.yourdomain.com
- Username: Your full email address
- Password: Email password
- Port: 587
- Encryption: TLS
Click Add Account
Step 9: Open Gmail Confirmation Email
Gmail will send a verification email to your domain inbox.
- Log in to Webmail
- Open the email titled
“Gmail Confirmation – Send Mail As”
Step 10: Confirm the Email Address
- Click the confirmation link in the email
- Verify the email address
- Click Confirm
Step 11: Return to Gmail
After confirmation:
- You will see a Confirmation Success message
- Click the provided link to return to Gmail
Step 12: Verify Final Settings
Go back to:
Gmail → Settings → Accounts & Import
Confirm:
✔️ Your email appears under Check mail from other accounts
✔️ Your email appears under Send mail as
You can now send and receive domain emails directly from Gmail.
Recommended Email Hosting Solution
Don’t have a professional email address yet?
With domain-based email hosting, you can:
- Send professional emails
- Build brand trust
- Access email via Gmail, Outlook, or mobile apps
👉 Get Professional Email Hosting with Your Domain
Final Notes & Best Practices
-
- Enable SSL/TLS for both POP3 and SMTP
- Always keep “Leave copy on server” enabled
- Use strong passwords
- Avoid sharing email credentials
- Check mail fetch frequency in Gmail settings
#POP3Email, #SMTPSettings, #GmailSetup, #EmailHosting, #ProfessionalEmail, #GmailTips, #EmailSetup, #TechGuide, #ProductivityHacks, #SMTP, #POP3